Design your door
Create your own door to fit your needs
Step 1
WalkThru Threshold
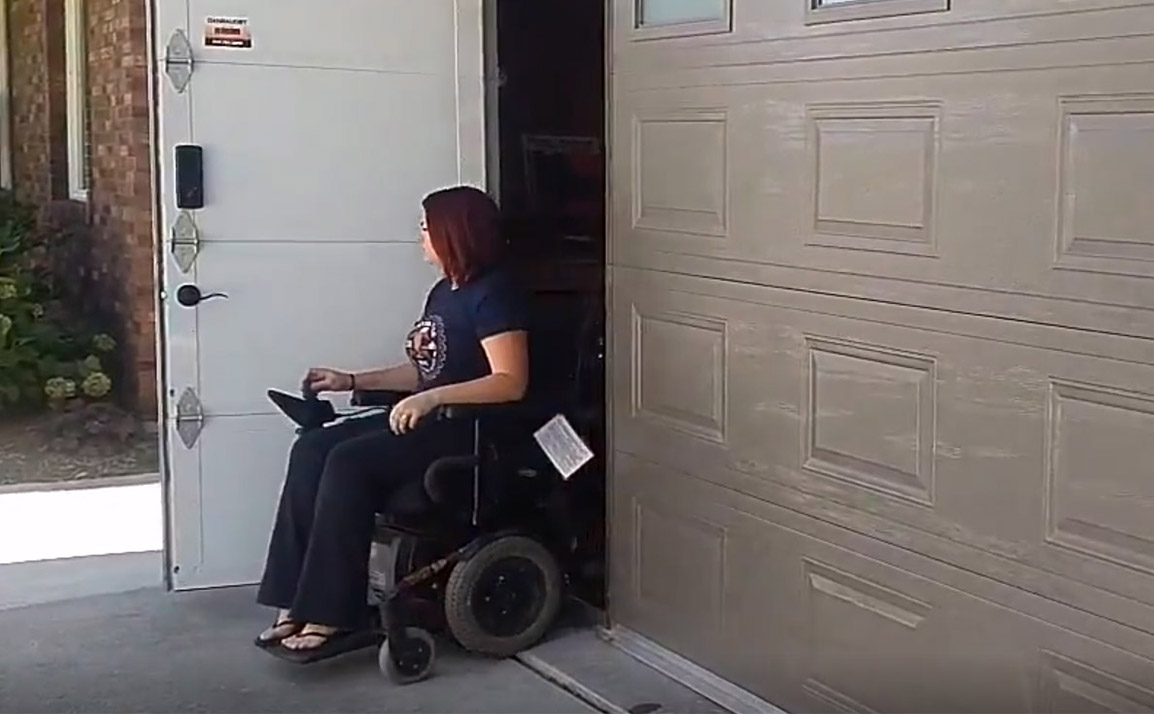
Step 2
Door Opening Measurements
Step 3
Select the application

Your door will appear above as you customize it.
Step 4
Select the style
Step 5
WalkThru Feature
Step 6 5
Select a color
Step 7 6
Windows
Step 7 6
Windows
Step 7 6
Windows
Step 7 6
Windows
Step 7 6
Windows
Step 7 6
Windows
Step 7 6
Windows
Step 7 6
Windows
Step 7 6
Windows
Step 7 6
Windows
Step 7 6
Windows
Step 7 6
Windows
Step 8 7
Select your preferred hardware
Step 8 7
Select your preferred hardware
Step 9 8 6
Personal information

Step 5
WalkThru Feature
Step 5
WalkThru Feature
Step 5
WalkThru Feature
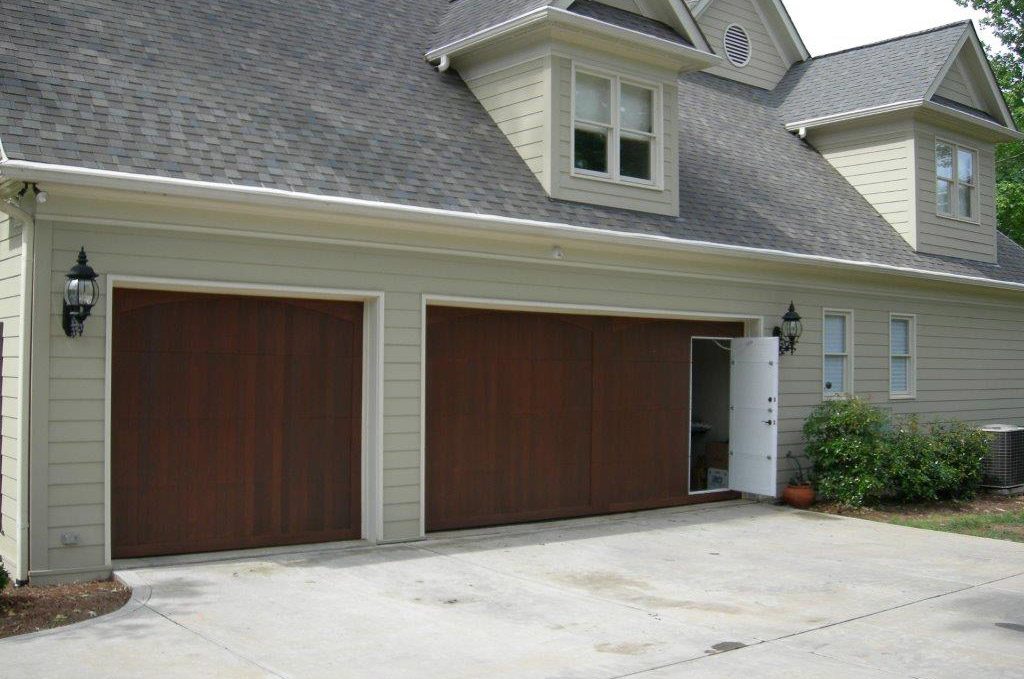
Step 5
WalkThru Feature
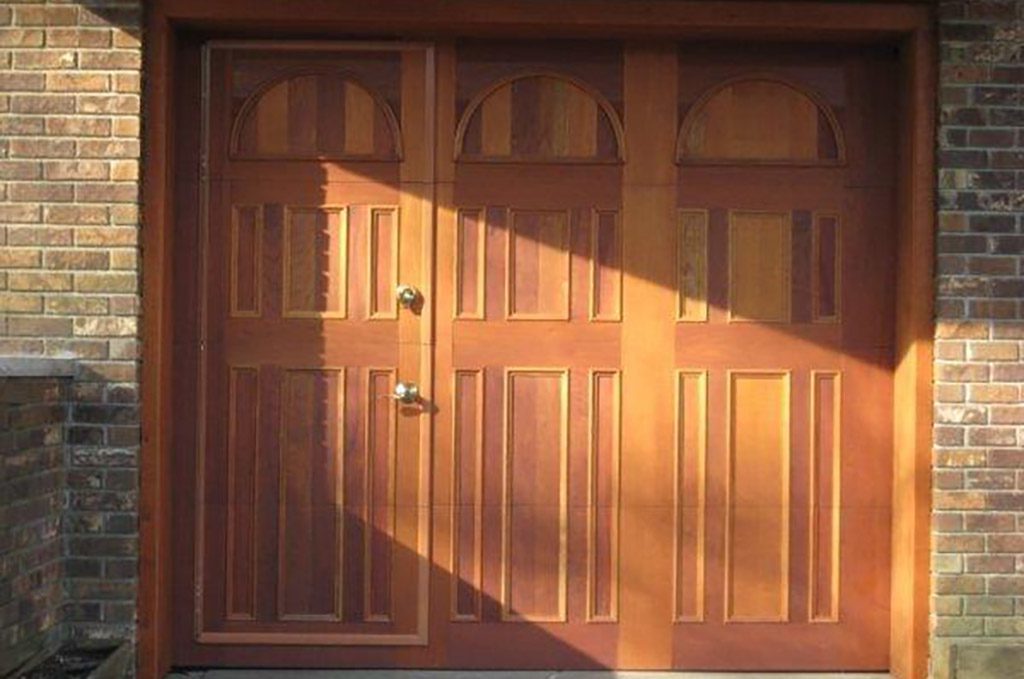
Step 1
WalkThru Threshold
Do you require a low-profile threshold at the bottom of your WalkThru feature?
Note: Standard height of the step-over threshold is 3 1/2”
Step 2
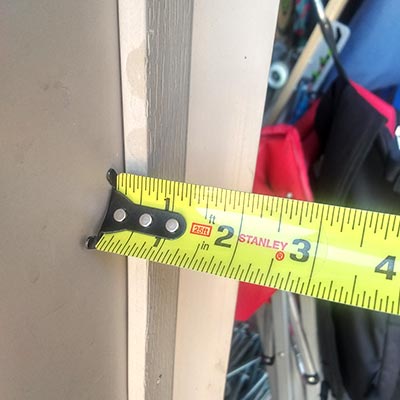
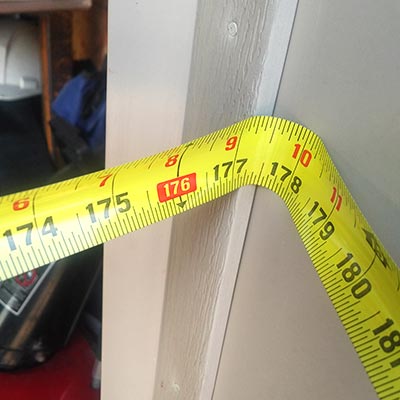
Door Opening Measurements
Important Notice
We ask that you not provide measurements based on the size of your existing door or from a previous quote provided by others.
It is IMPORTANT that we are provided with the size of the actual opening as all too often we’ve found that existing doors are larger than the opening. As our WalkThru feature swings to the exterior, we need to ensure that it will clear the framing and upper weather seal at the top when swinging out.
What we are trying to avoid is a situation similar to the one in this photo. This door was ordered based on the existing door size and as we can see, the WalkThru feature will not be able to swing open as it is caught behind the framing of the garage.
All measurements only need to be provided in ¼” intervals.
Please ensure your measurements match the format of 191 or 191 1/2.
| Door# | Width | Height | WalkThru | Qty |
| 1 |
Please check your measurement and try again.
Step 2
Door Opening Measurements
| Door# | Width | Height | WalkThru | Qty |
| 1 |
Additional Measurements
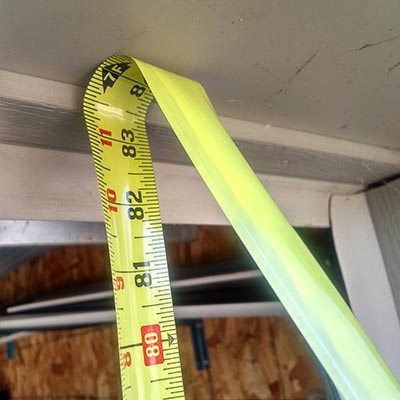
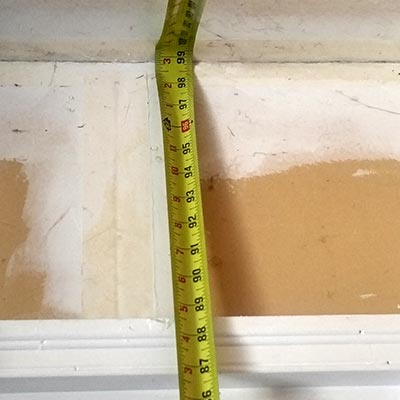
What is the height from the floor to the first obstruction at the ceiling where the door will be put in motion?
| Door# | Additional Height |
| 1 |
Step 3
Select the application
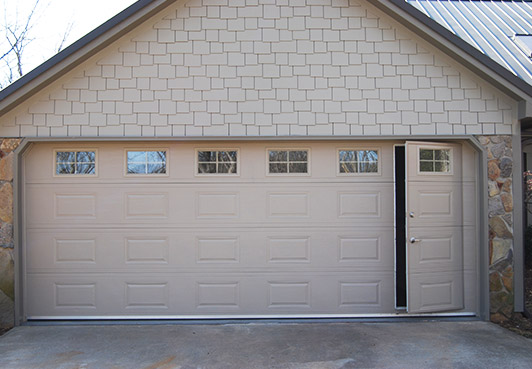
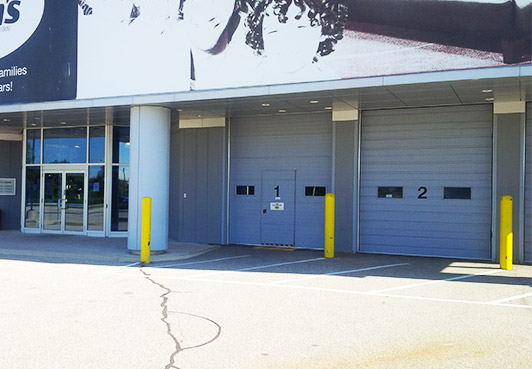
You have identified a height(s) greater than commonly used for RESIDENTIAL applications.
Please verify that the height(s) provided in STEP 2 is in fact correct.
Please note that additional sections will be added to your door but will not be reflected in the schematic:
- A fifth section will be added for all heights between 97" and 120".
- A sixth section will be added for all heights between 121" and 144".
- A seventh section will be added for all heights between 147" and 168".
- An eighth section will be added for all heights between 169" and 192".
Step 4
Select the style
Classic Raised Panels
Elongated Raised Panels
Carriage Style
Mixed Raised Panels
Grooved
Flush
Fullview
French Porte
Multi-Rib
Custom Wood Face
Step 5
WalkThru Feature
Standing outside, in front of your new WalkThru Garage Door, what is the preferred location for the walkthru feature for this door?
Left
Left Center
Center
Right Center
Right
Step 6 5
Select a color
White
Desert Sand
Claystone
Dark Sand
Moka Brown
Evergreen
Charcoal Grey
Black
Silver
Clear Anodized - Silver
Other
Simulated Wood Grain
What color do you have in mind?
Step 7 6
Windows
Would you like to incorporate windows in you design?
Step 7 6
Windows
Would you like to incorporate windows in you design?
By default, the schematic on the left is identifying the maximum number of standard size windows in a panel. Which panel would you like windows in?
Step 7 6
Windows
Would you like to incorporate windows in you design?
Please select where you would like to have windows in your door by using the clickable positions in the image of your door.
Step 7 6
Windows
Would you like to incorporate windows in you design?
Please select where you would like to have windows in your door by using the clickable positions in the image of your door.
By default, the schematic on the left is identifying the maximum number of standard size windows in a panel. Which panel would you like windows in?
If you’re looking for something different, we ask that you select a photo from this gallery that best represents your wishes.
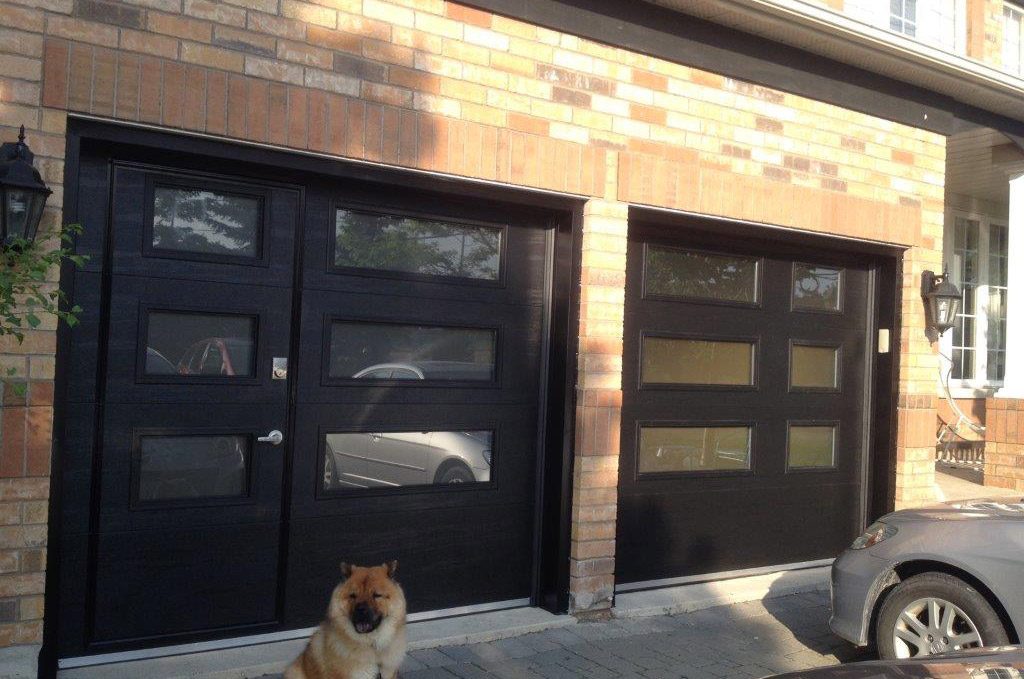
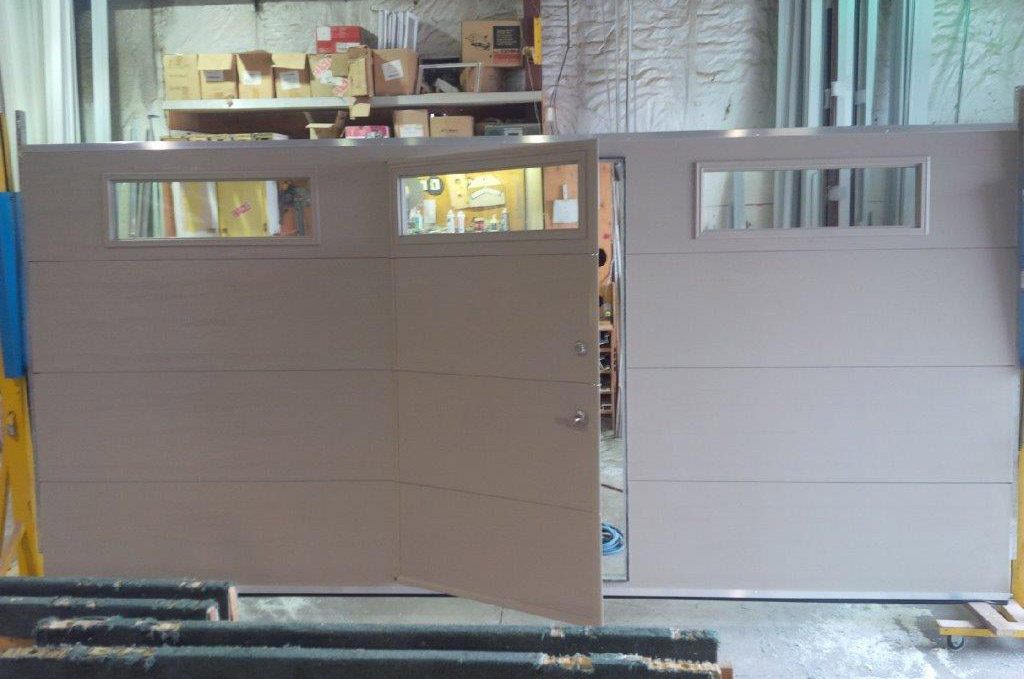
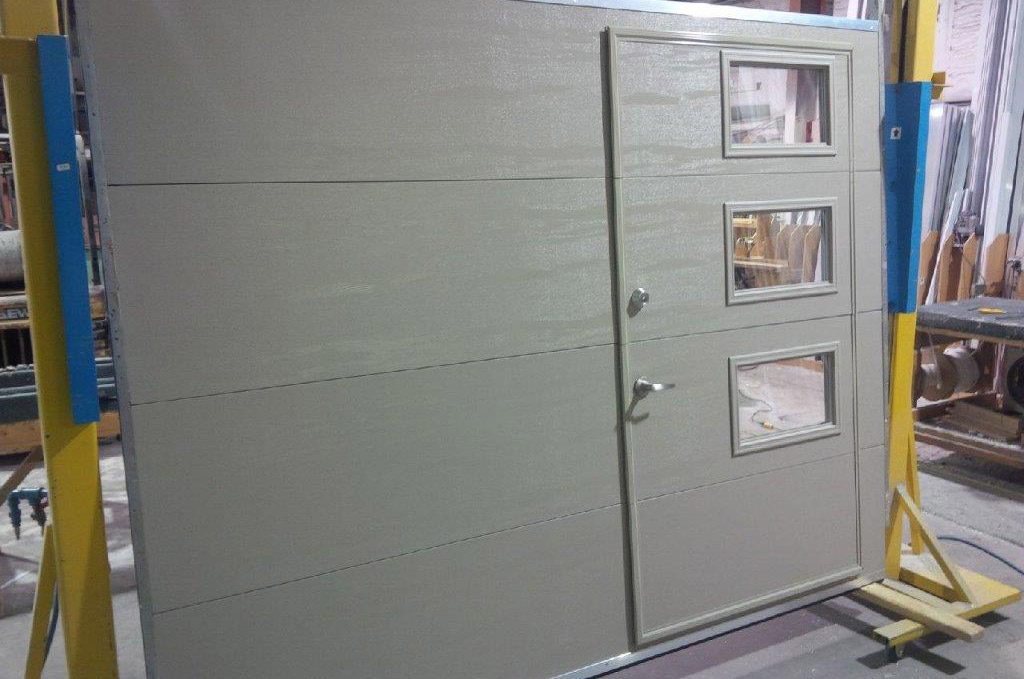
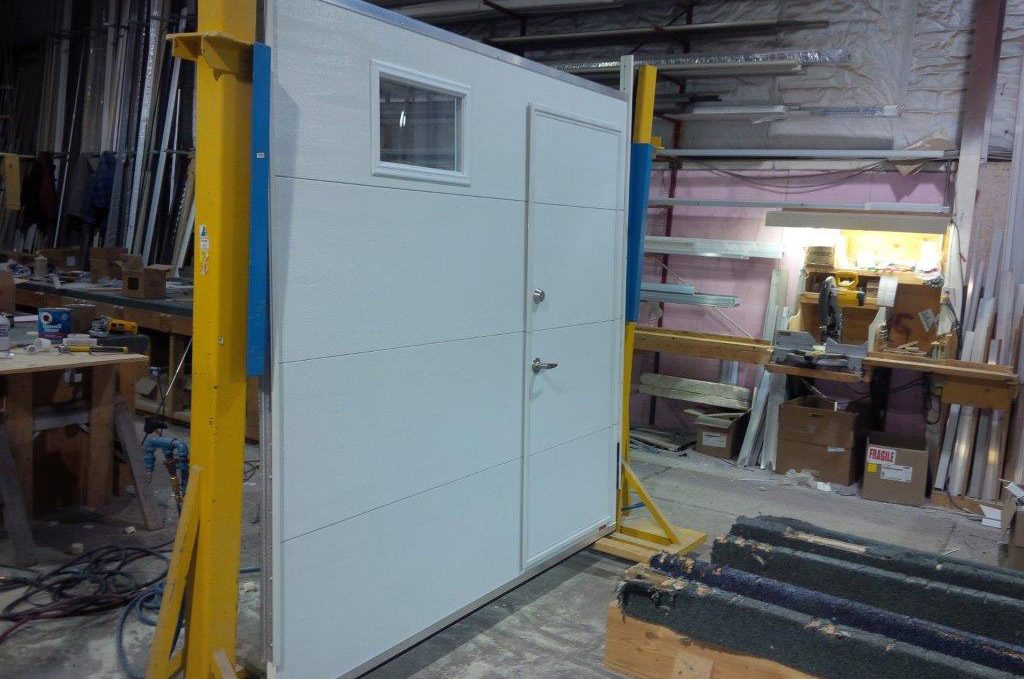
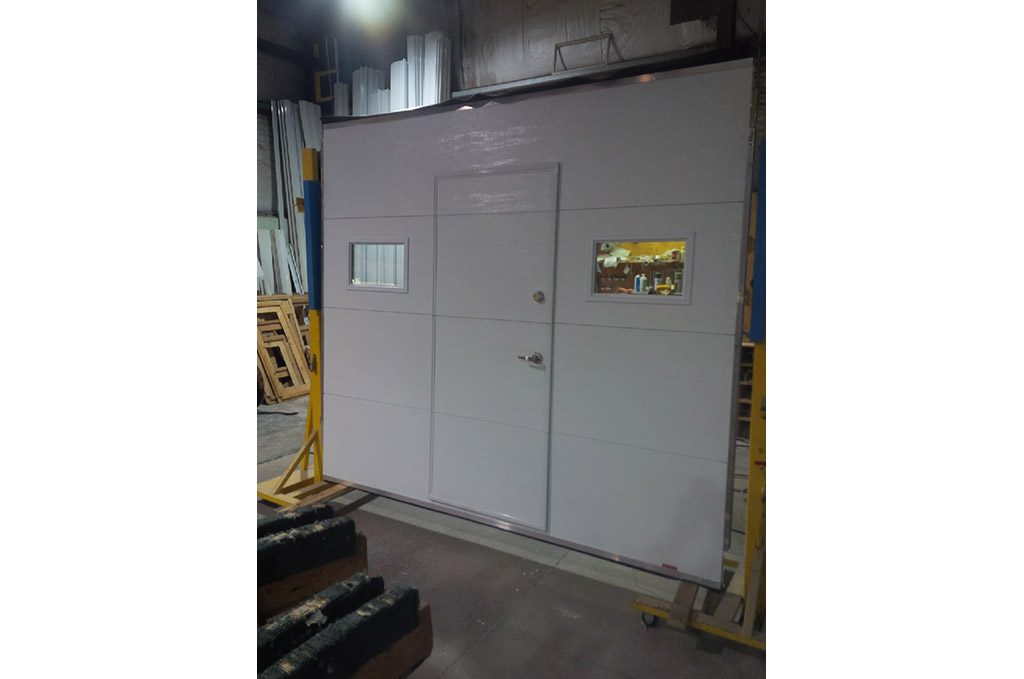
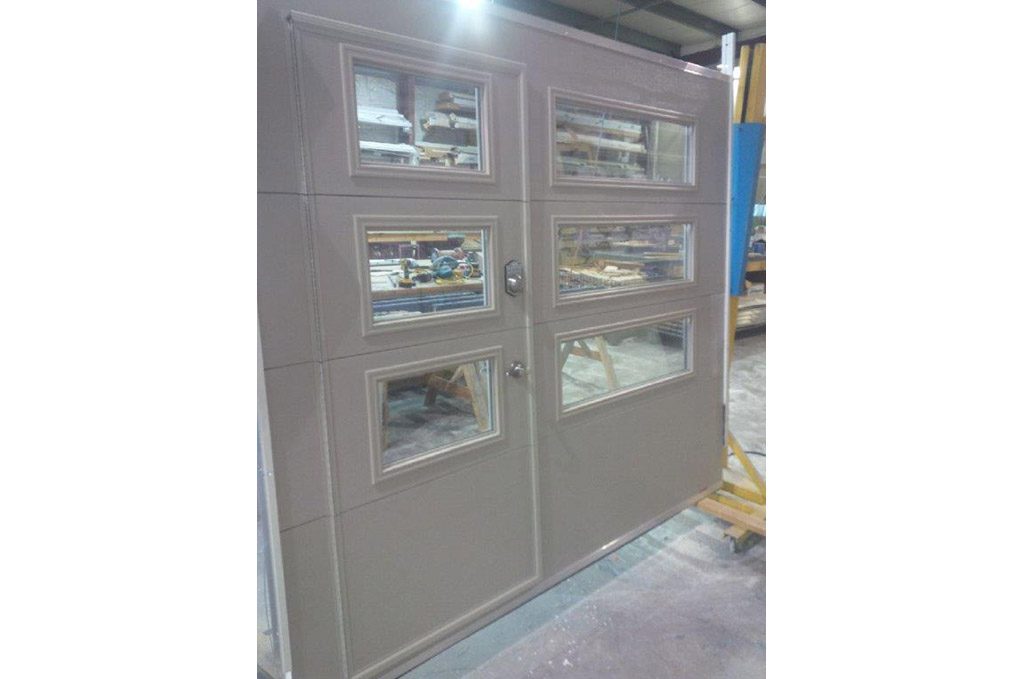
If this photo fails to identify your wishes, please do your best to describe those wishes in the field below.
Step 7 6
Windows
Would you like to incorporate windows in you design?
Please select where you would like to have windows in your door by using the clickable positions in the image of your door.
By default, the schematic on the left is identifying the maximum number of standard size windows in a panel. Which panel would you like windows in?
If you’re looking for something different, we ask that you select a photo from this gallery that best represents your wishes.


If this photo fails to identify your wishes, please do your best to describe those wishes in the field below.
Would you like to be able to see through the glass?
Step 7 6
Windows
Would you like to incorporate windows in you design?
By default, the schematic on the left is identifying the maximum number of standard size windows in a panel. Which panel would you like windows in?
If you’re looking for something different, we ask that you select a photo from this gallery that best represents your wishes.


If this photo fails to identify your wishes, please do your best to describe those wishes in the field below.
Would you like to be able to see through the glass?
Would you like to add a decorative element to the windows?
Step 7 6
Windows
Would you like to incorporate windows in you design?
By default, the schematic on the left is identifying the maximum number of standard size windows in a panel. Which panel would you like windows in?
If you’re looking for something different, we ask that you select a photo from this gallery that best represents your wishes.


If this photo fails to identify your wishes, please do your best to describe those wishes in the field below.
Would you like to be able to see through the glass?
Would you like to add a decorative element to the windows?
Select decorative element
Clear Glass
Stockton Plastic Insert
Prairie Plastic Insert
Cathedral Plastic Insert
Sherwood Plastic Insert
Cascade Plastic Insert
Waterton Plastic Insert
Richmond Plastic Insert
Glue Chip Glass
Masterline
Cachet Stained Glass
Empire
Orion 4 Lites
Williamsburg Plastic Insert
Caprice Printing Process
Step 7 6
Windows
Would you like to be able to see through the windows?
Step 7 6
Windows
Would you like to be able to see through the windows?
Would you like tinted windows?
Step 7 6
Windows
Would you like to be able to see through the windows?
Would you like tinted windows?
What color would you like the windows tinted?
Grey
Bronze
Other
What color do you have in mind?
Step 7 6
Windows
Would you like to be able to see through the windows?
Would you like tinted windows?
What color would you like the windows tinted?

Grey

Bronze

Other
Would you like glass or acrylic windows?
Step 7 6
Windows
Would you like to be able to see through the windows?
Would you like tinted windows?
What color would you like the windows tinted?

Grey

Bronze

Other
Would you like glass or acrylic windows?
How thick would you like the windows?
Step 8 7
Select your preferred hardware
Recessed Paddle Handle - black
To be supplied by others
Lever & Deadbolt - silver
Lever & Deadbolt - black
Lever & Keyless Deadbolt - silver
Lever & Keyless Deadbolt - black
Lever Only - silver
Lever Only - black
Grip & Deadbolt - black
Grip & Keyless Deadbolt - black
Handle - silver
Offset Handle - silver
Panic Bar - Exit Only
Panic Bar - Exterior Key Cylinder
To be supplied by others
Step 8 7
Select your preferred hardware
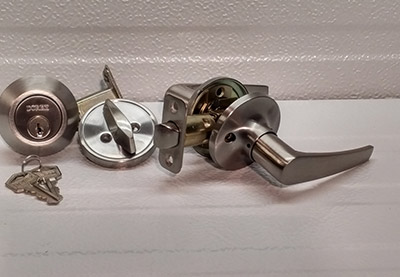
Lever & Deadbolt - silver
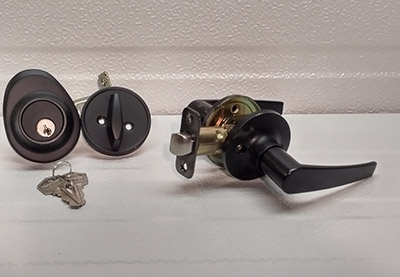
Lever & Deadbolt - black
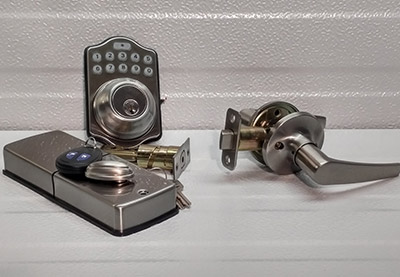
Lever & Keyless Deadbolt - silver
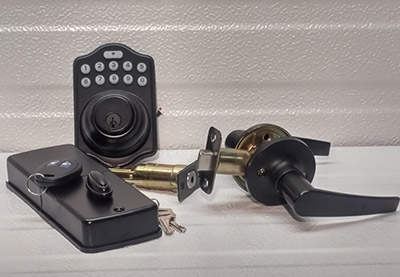
Lever & Keyless Deadbolt - black
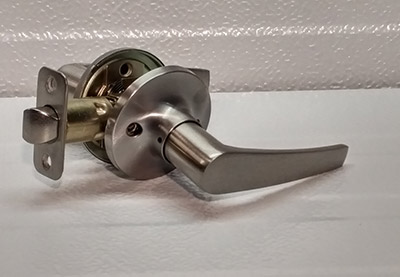
Lever Only - silver
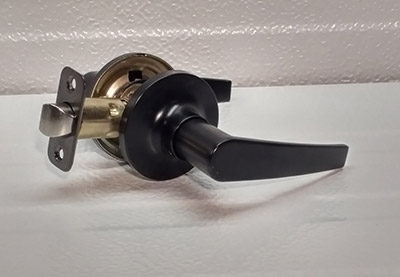
Lever Only - black
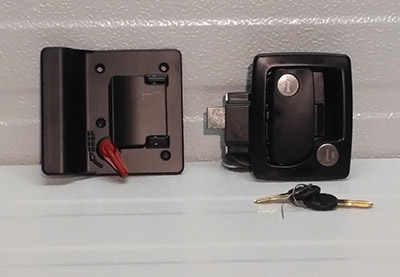
Recessed Paddle Handle - black
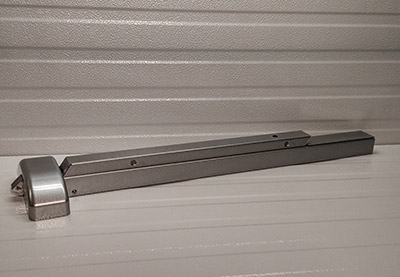
Panic Bar - Exit Only
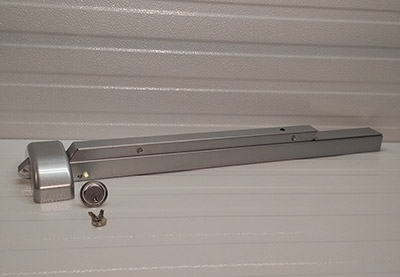
Panic Bar - Exterior Key Cylinder

To be supplied by others
Are door closers provided? Yes.
Would you like a reflective exit sign?
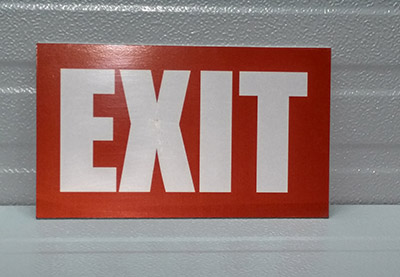
Step 9 8 6
Personal information
Complete the following form to submit your door design for an all inclusive quote which will also include freight costs to get the product to your location.
Step 5
Door Preferences
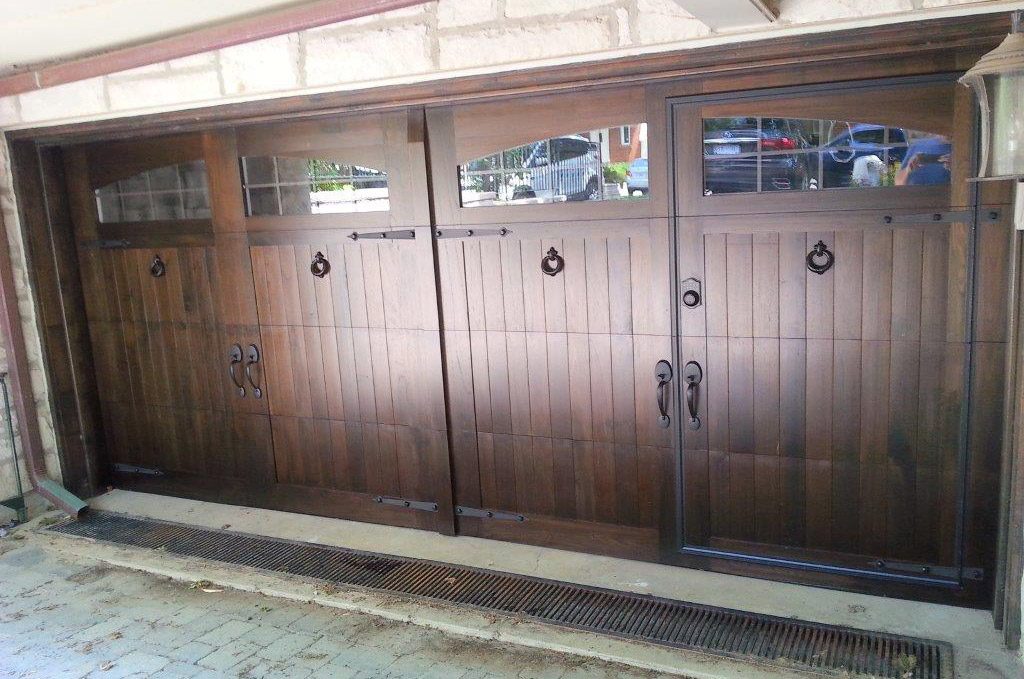
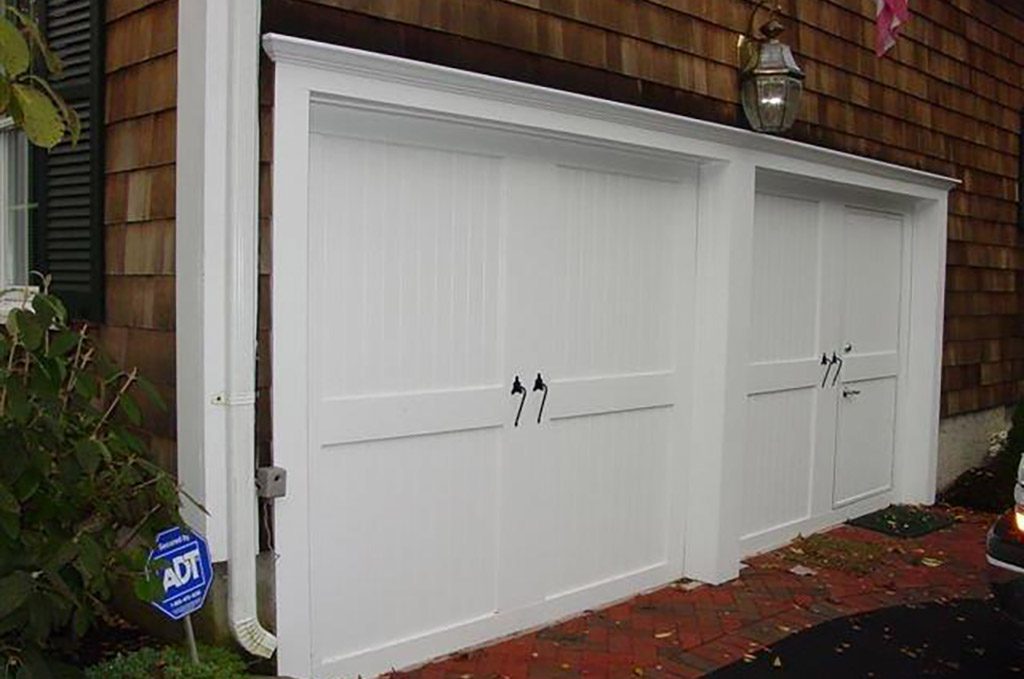
Examine the door in the image. In the field below, tell us what you like and dislike about this door. Please be as descriptive as you can to help us understand your vision.
Step 5
Door Preferences
Examine the door in the image. In the field below, tell us what you like and dislike about this door. Please be as descriptive as you can to help us understand your vision.
Step 5
Door Preferences
Examine the door in the image. In the field below, tell us what you like and dislike about this door. Please be as descriptive as you can to help us understand your vision.
Step 5
Door Preferences
Examine the door in the image. In the field below, tell us what you like and dislike about this door. Please be as descriptive as you can to help us understand your vision.
